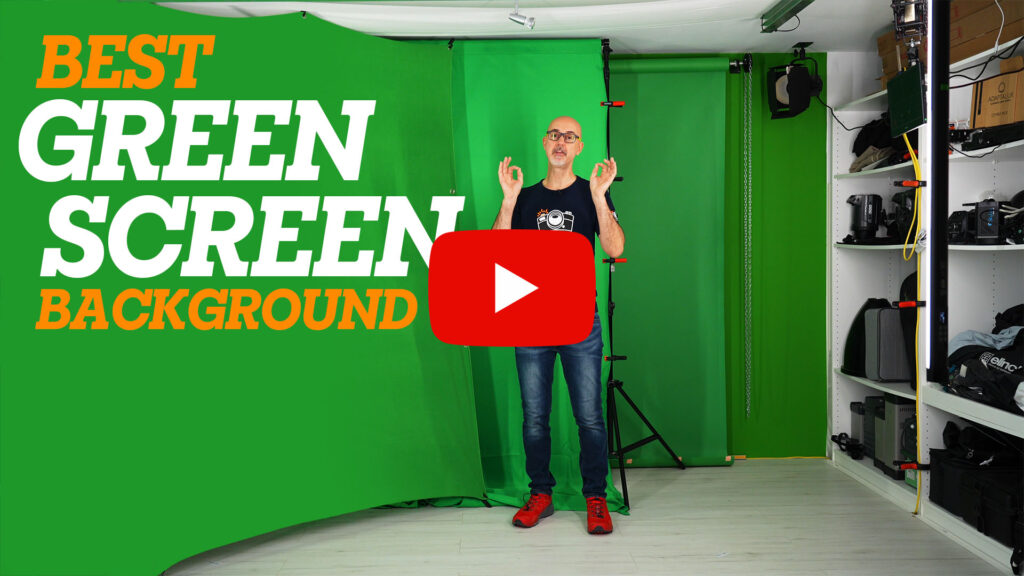
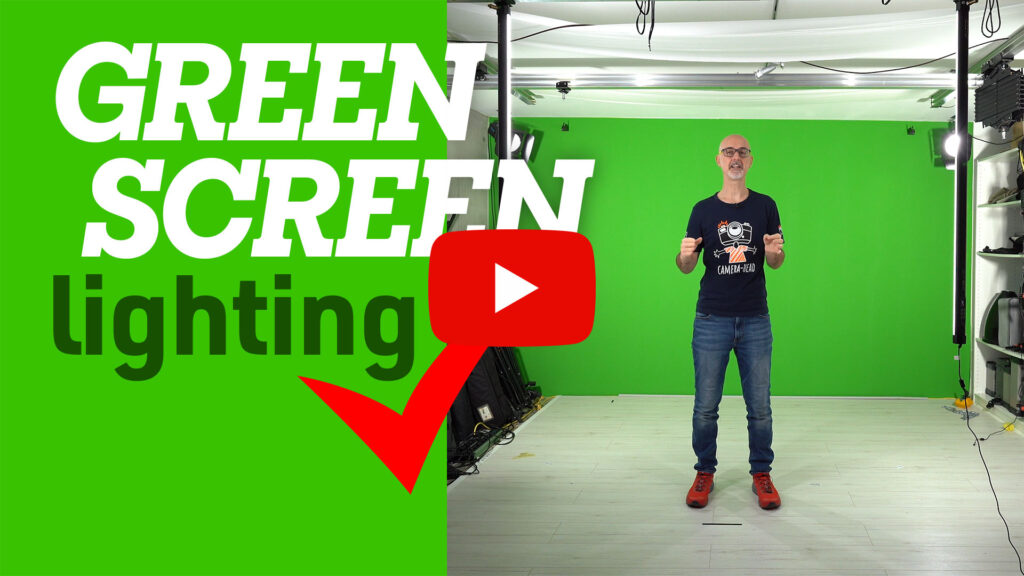
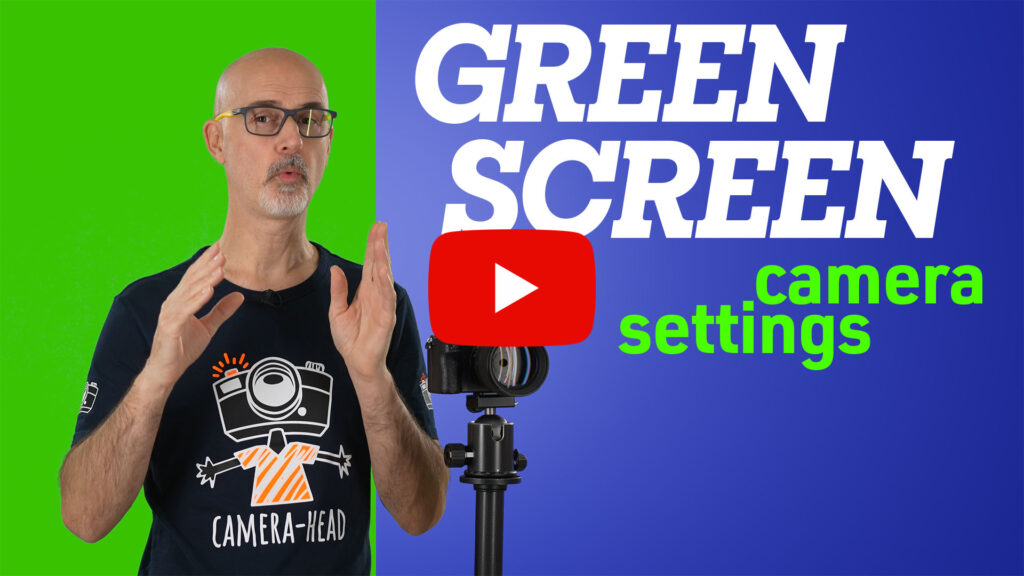
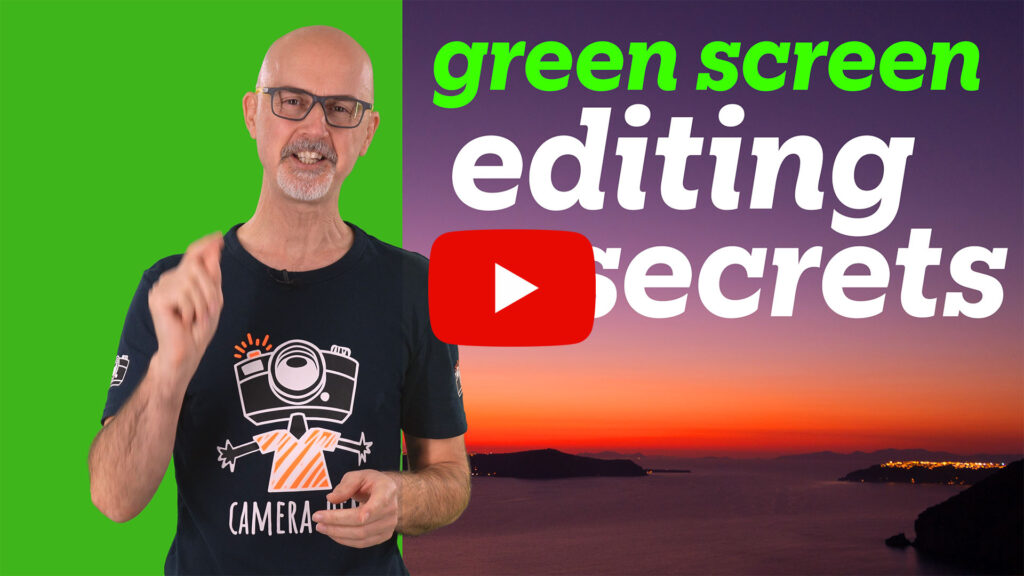
Yes you can, but bad is pretty relative. With a few editing secrets, like selective green screen keying, you can definitely improve your results a lot. Check the video above about green screen editing secrets to see which tools to choose and how to use them.
It is pretty fast and particularly when you have multiple clips, you can easily copy and paste the settings from one clip to all others.
Takes 30sec all together and your green screen has (almost) Hollywood quality.


Great tutorial ! Thank You So Much !!!
Just one thing, I would like to know what light meter you use 👍🏻
Hi David! Thank you! I’m using the Sekonic 858, but depending on your needs, that might be overkill ;).
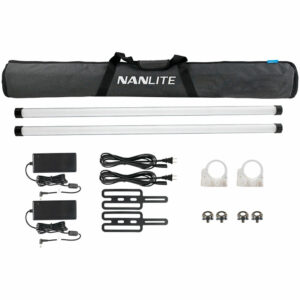
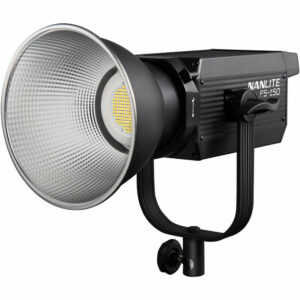
I am loving this information and was about to order but I see the FS-150 lights are out of stock. Do you have another option that would be of comparison?
Thank you Camille, and sorry for the delay. I can’t really give other recommendations of the gear that I use because many of the ones I have used before are discontinued, and the nanlite is really good value for money. There is a bi-color version in case you will ever need the lights for other things than just lighting a green screen. They are now similarly priced to the daylight balanced lights were when I wrote this article. Other than that I heard good things about the smallrigs. I hope that helps 😉
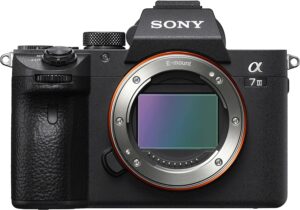
Do you use AC adapter for these sony cameras? Can you share the model number of the adapter?
Thank you!
Hi Kenny,
no, I stopped using Adapters because they created an audio issue for whatever reason. For most Sony cameras you can use a Power Bank and a USB C cable, but in regard to overheating, that is not as good as an AC Adapter. However, against overheating you can use a fan. I’m using this one: https://amzn.to/3z6K75n (that actually holds on the camera), but the slightly cheaper older version also works, but needs some rubber bands to fix it to the camera: https://amzn.to/3MnH7EM
Both will need a power bank if you use them for more than 60-90min.
These are referral links btw, so if you buy from these, I’ll get a small commission. I didn’t get anything from Ulanzi though, I just bought them to avoid the overheating problem.
Do you have any auggestions for a plug in that will work with a PC as well as a Mac? I am interested in the hawaiki keyer but I see it only works with the MacOS. I prefer PC when editing. Thanks!
Hi Cameron,
sorry for the delay! I’m afraid I don’t have a suggestion for PC. I only have an older windows laptop that wouldn’t let me even think about editing greenscreen footage, so I can’t try different tools on it. I hope you find something that fits your needs.
Cheers,
Wolf
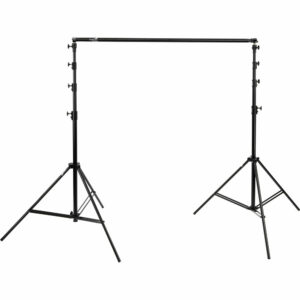
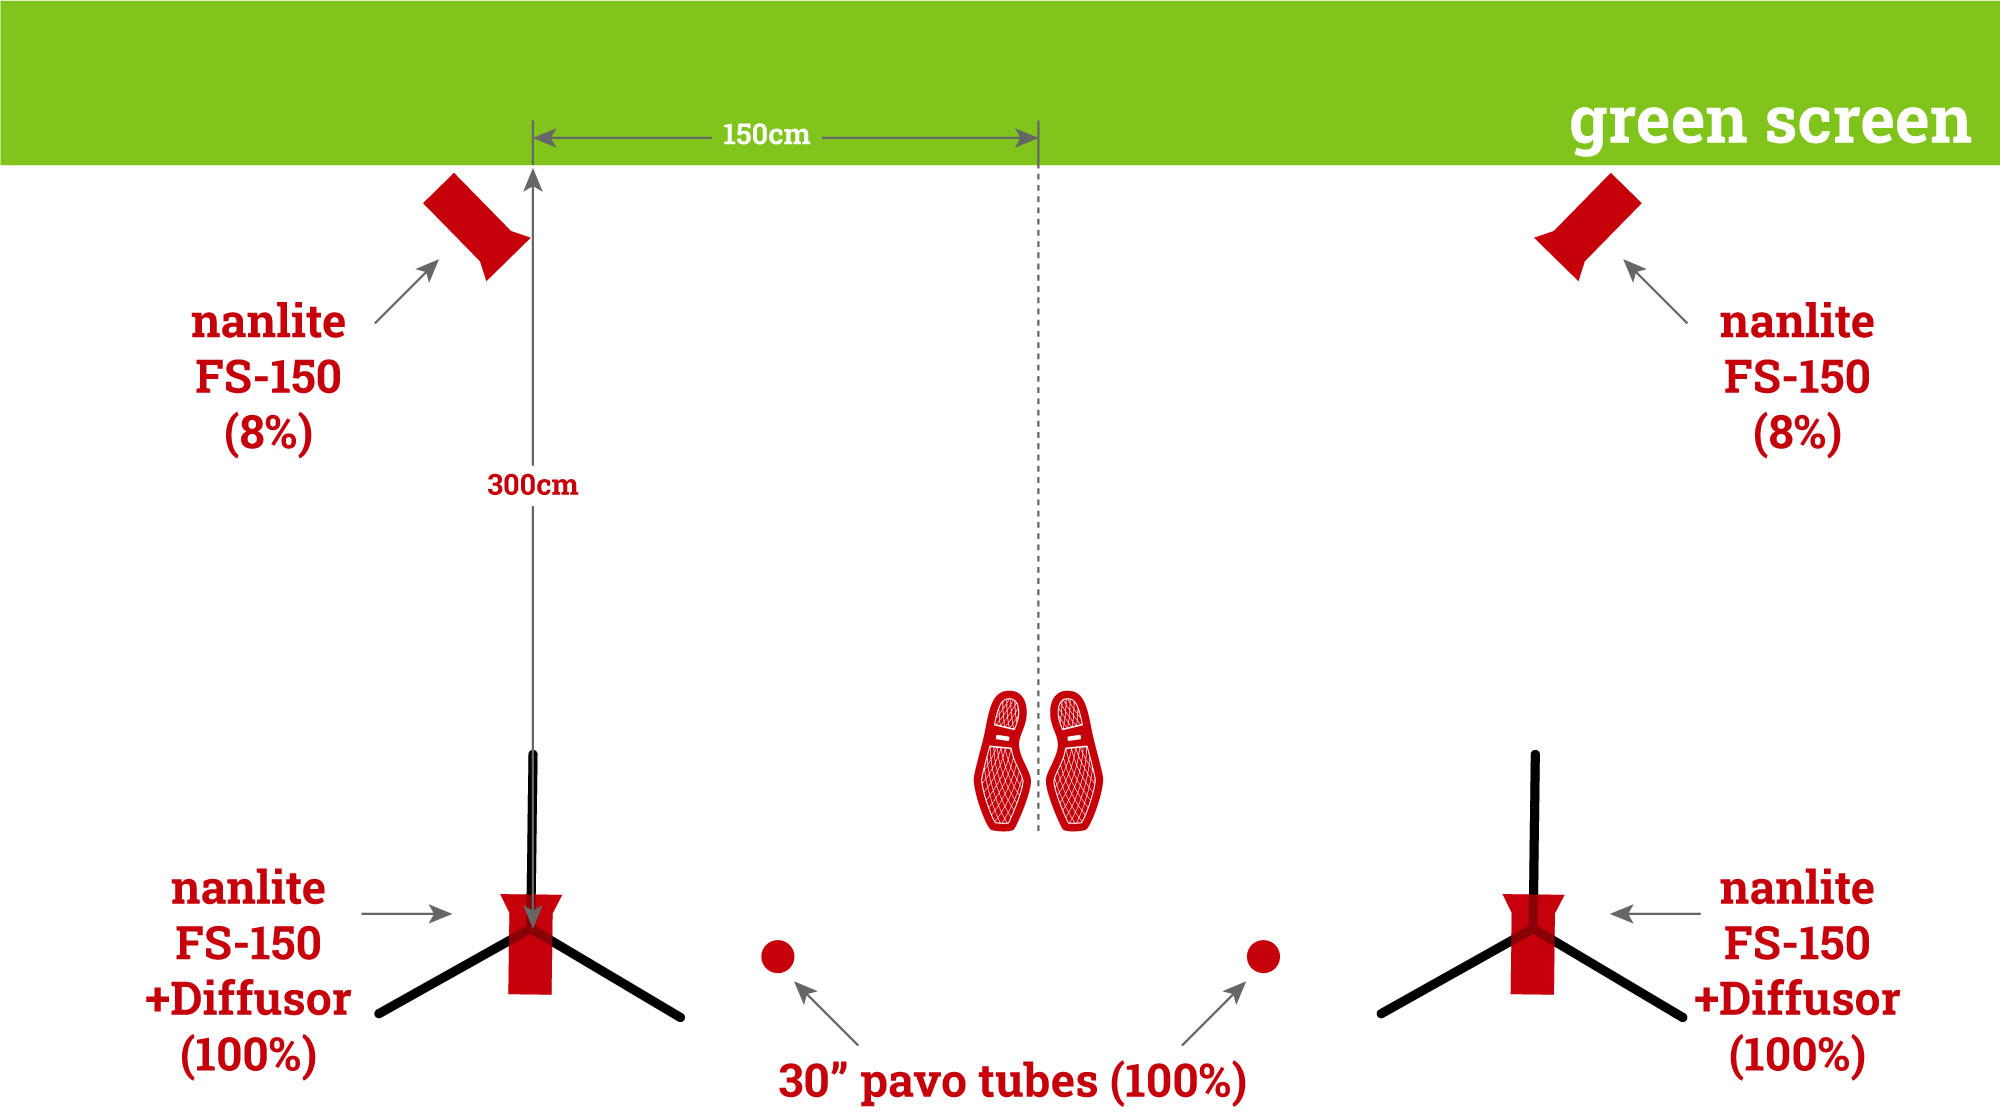
Love the content! is there light stands you can recommend for the nanlite FS 150?
also what mounts do you use to cieling mount them?
Sorry for the delay, I missed your question ;). I hope I could answer it ;).
Hi Wolf!,
What light stand do you use for the floor lights? Also I could not find the mounts that work for the Nanlite FS-150 mounted to the ceiling?
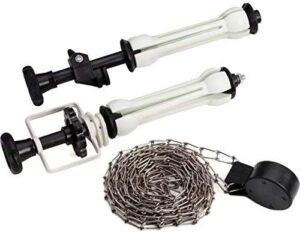
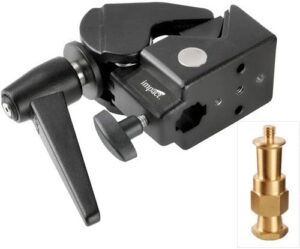
Hi Jason! I have a lot of different stands that I gathered over the years – some of them were free byproducts to lights that I bought, some I got as a gift from old photographers (really old fashioned ones). Anything that will hold the light in place is good, even if it is DIY stuff (which is my current ceiling mount as I have it on a ceiling rail). I just googled ceiling mount and found this – should work really well the only question is whether it fits your ceiling height https://www.bhphotovideo.com/c/product/1699194-REG/impact_ls_cm_ceiling_mount_light_stand.html
Regarding regular stands again: indoors it doesn’t really matter as there is no wind going to throw them over, so theoretically you can use the smallest and lightest, even if the Nanlites are heavier than the stands are rated (been there, done that, because I used public transport and didn’t want to carry all the heavy tripods 😉). Only thing is: if you have kids running around at times, you want something more solid.
Let me know if you have any further questions.
Wolf thank you so much for the response! I am well under way setting up my “miniature studio”! your content is great! I am struggling a little bit with my dimensions and light placement, perhaps I will send you some photos when i am complete!
Awesome, I’d definitely love to see your setup ;).
Hi, thanks so much for this resource – it’s brilliant! I’m wondering what kind of dimensions do you mean when you’re talking about a big room, vs medium, and small?
Hi! I explain and show the size in the Green Screen Lighting Video. I hope that helps 😉